The Cinch - A really useful concept in bondage is "the cinch." When you're tying someone's knees or ankles together, for example, the initial impulse might be to just wrap the ropes around the limbs and tie the ends together.
Sometimes you can get away with this with no problem, but to make the bondage more snug and finished, it's nice to run a few turns of the rope perpendicular to the original turns, tightening them down. This makes for more secure tying and can really add to the sub's feeling of being "tied up."
The following few ties show some examples of the cinch:
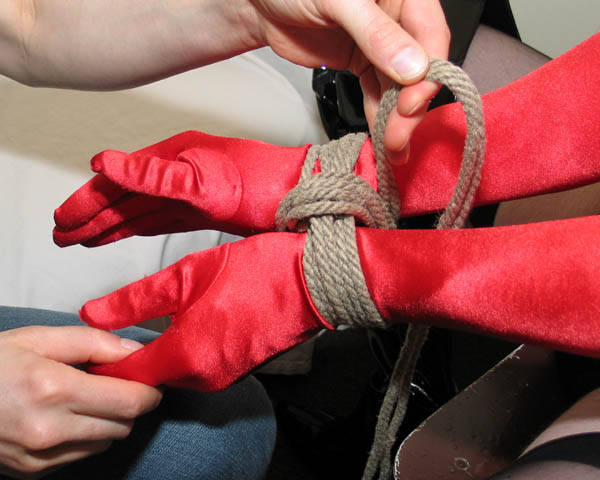
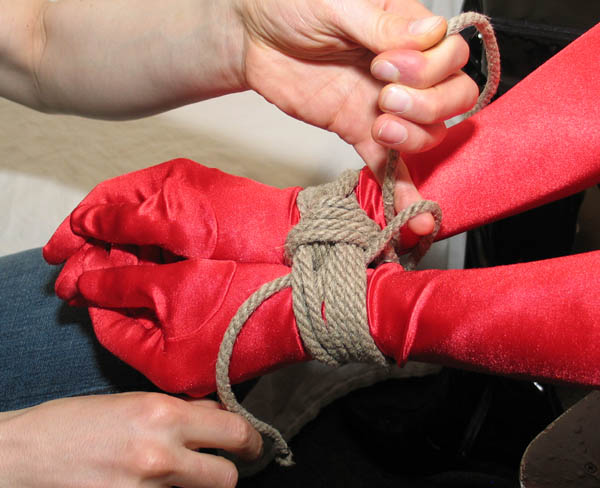
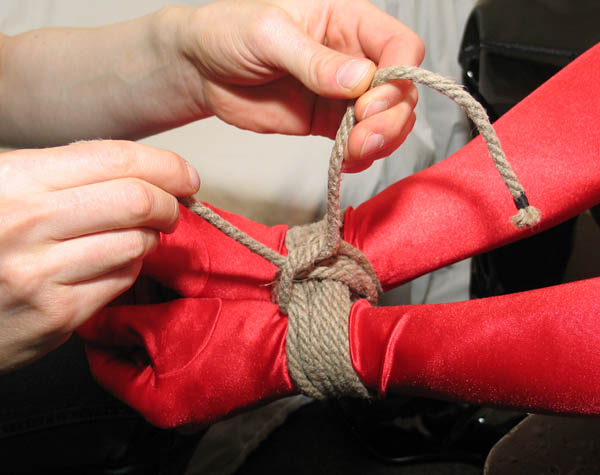
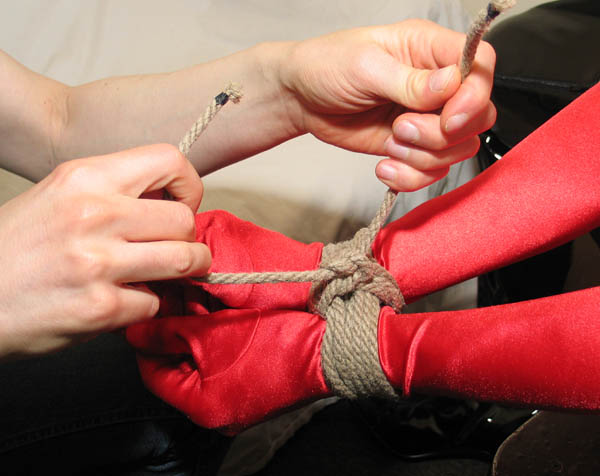
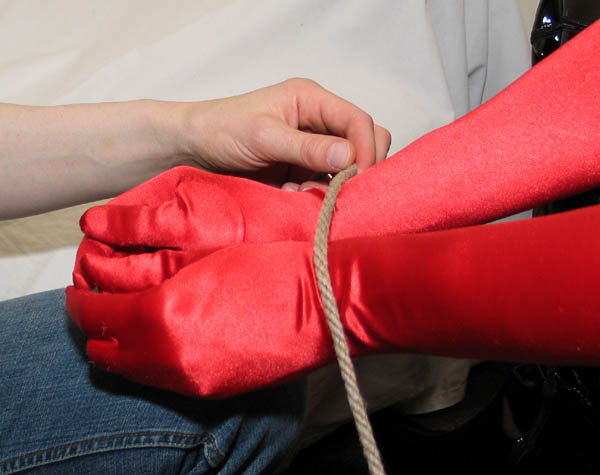
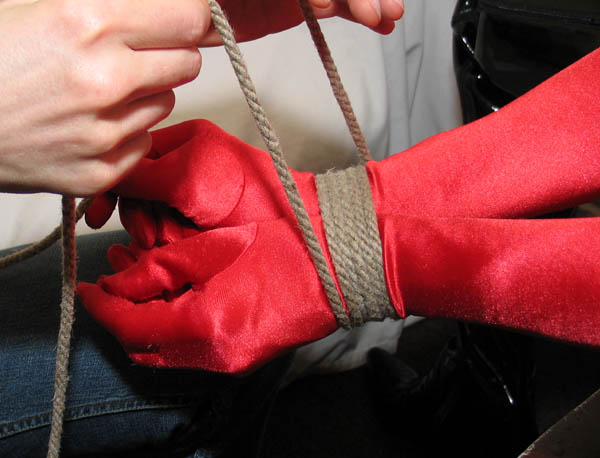
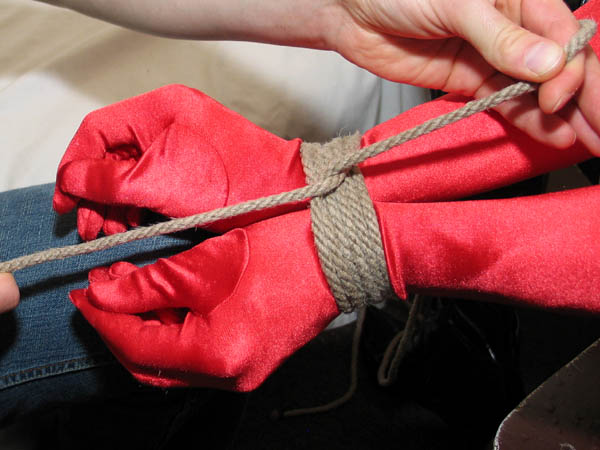
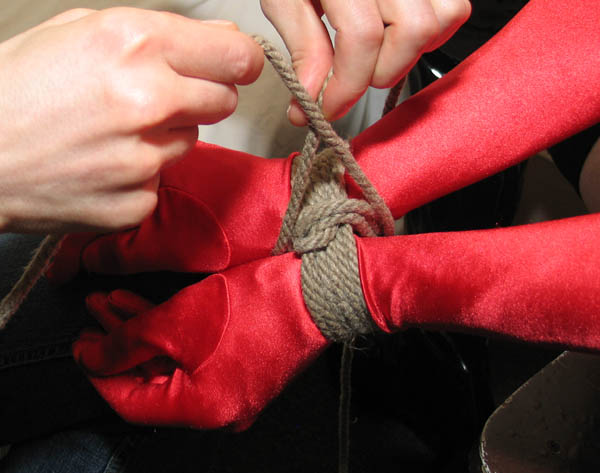
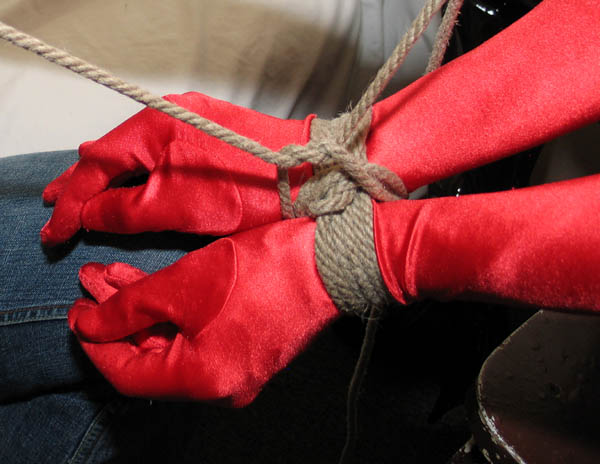
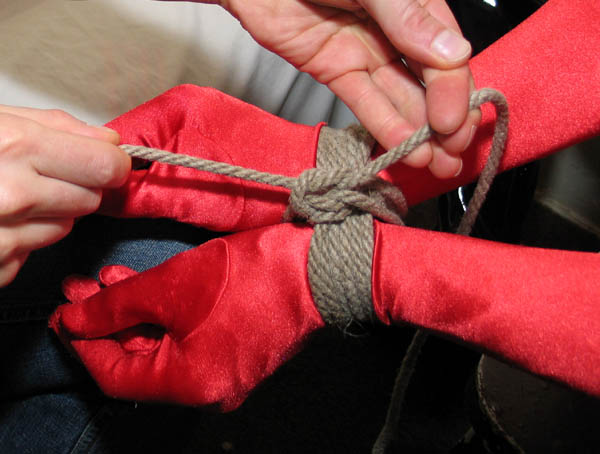
Double limb ties - In tying two limbs together, I usually start out with a larks head, forming a loop around the wrists, for example. Then you wrap several turns around the wrists, and feed the ends back through the loop made by the larks head. Then you do the cinch, wrapping between the wrists, perpendicular to the wrapping turns. You separate the two ends, passing one end under the wrapping turns and tie a square knot.
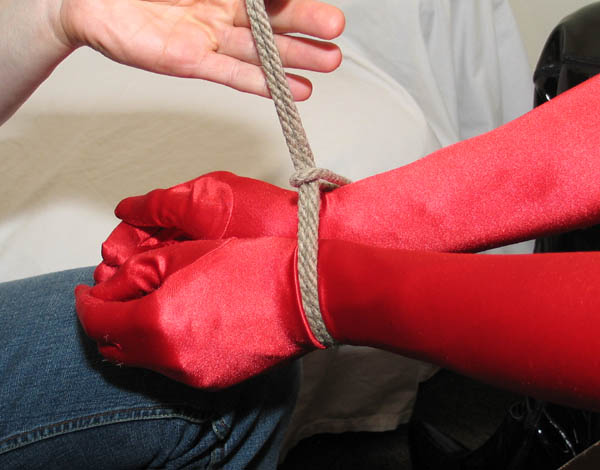
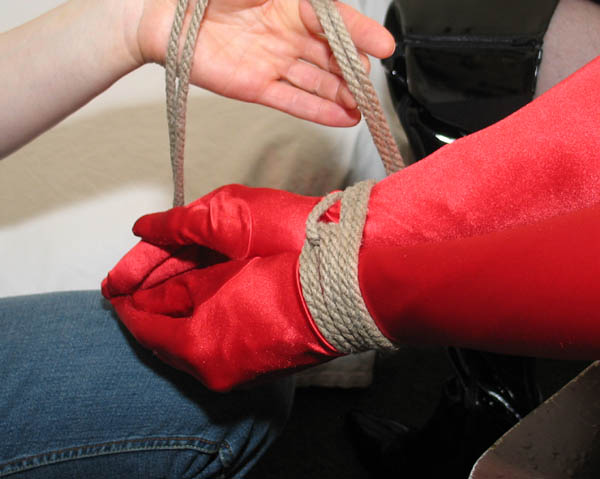
This same kind of tie can be used on ankles and knees. In fact, you can use it to tie nearly any two body parts together: wrist to ankle, wrist to thigh, ankle to thigh, upper arm to chest, and so on.
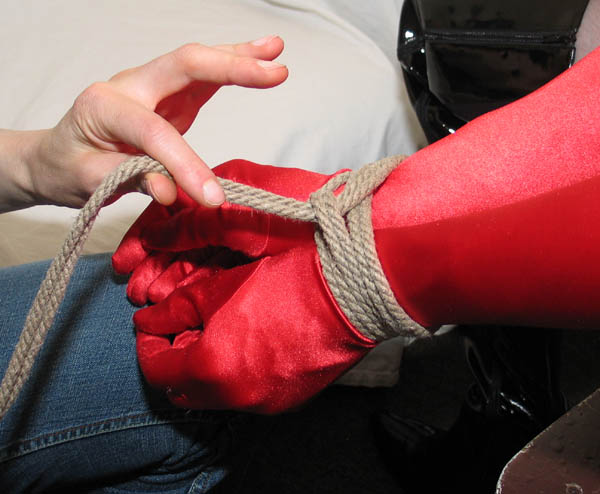
Below - is a simple variation of a wrist tie done with a single strand of rope rather than doubling it up like I usually do. You wrap in opposite directions around the wrists, cross the ropes and go in opposite directions. Then you do the cinching, tightening down perpendicular to the wrapping turns, and finish off with a square knot. Some people call this technique the "Paula Klaw" tie, from the classic bondage photographers Irving and Paula Klaw.

Reversing directions - Another useful concept is the idea of "reversing directions" when you tie. Years ago I saw a Julie Simone bondage demo where she said that nearly all her tying is based on this idea. You run the rope back on itself, tightening it down by looping it around other ropes. The larks head is an example of this, as is the "crossing the ropes" step in the single strand tie above.
Some variations - on wrist ties include tying the hands back to back, crossing the wrists behind the back, tying the wrists parallel to each other and so on.
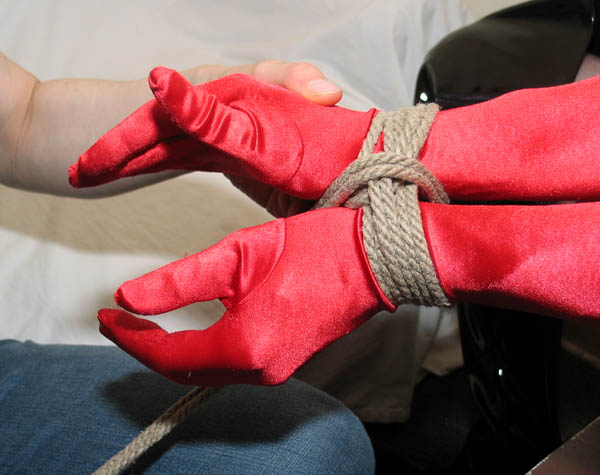
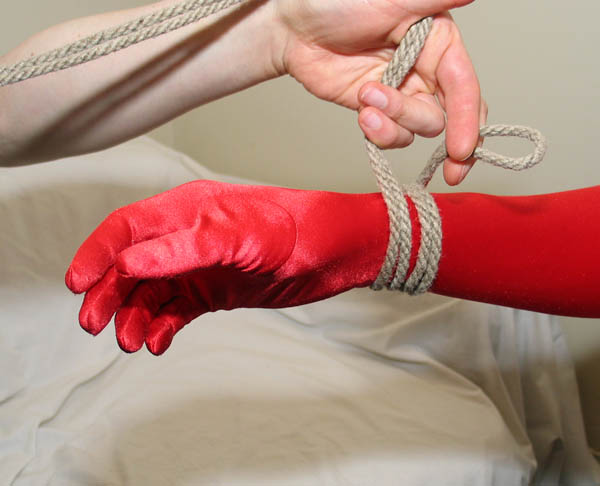
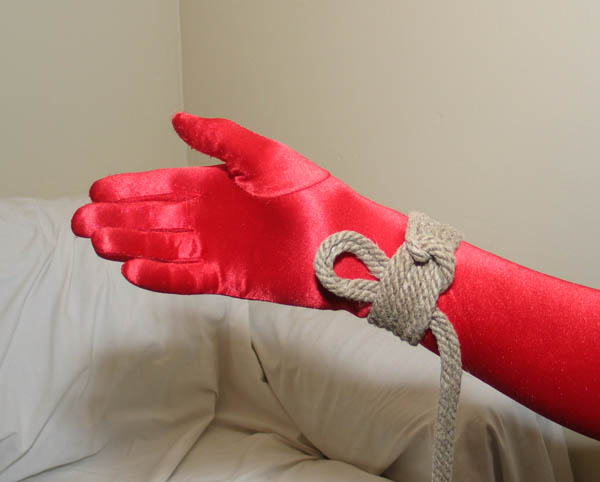
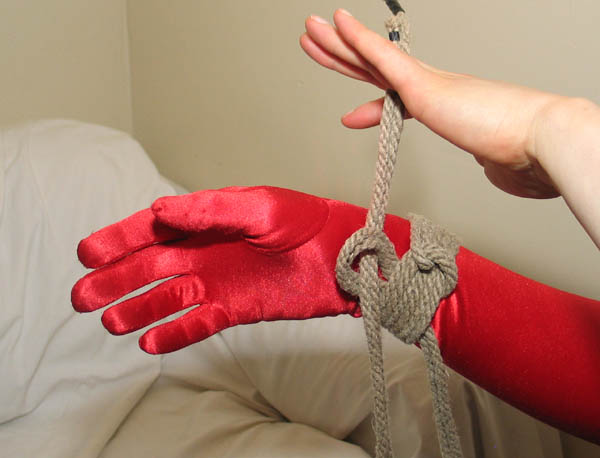
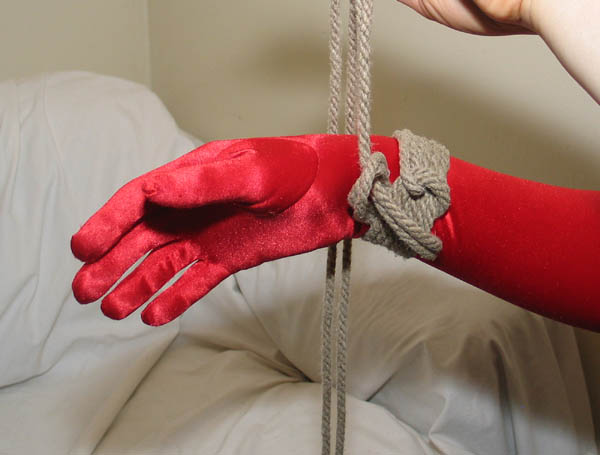
Single limb tie - Tying a single limb can often be more tricky than tying two limbs together. If you just wrap the limb and tie a square knot, the problem is that as the bindee pulls away from the knot, the ropes tighten more and more, potentially cutting off circulation.
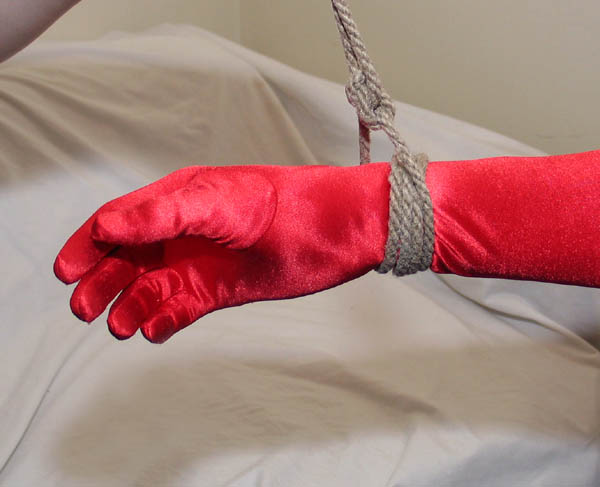
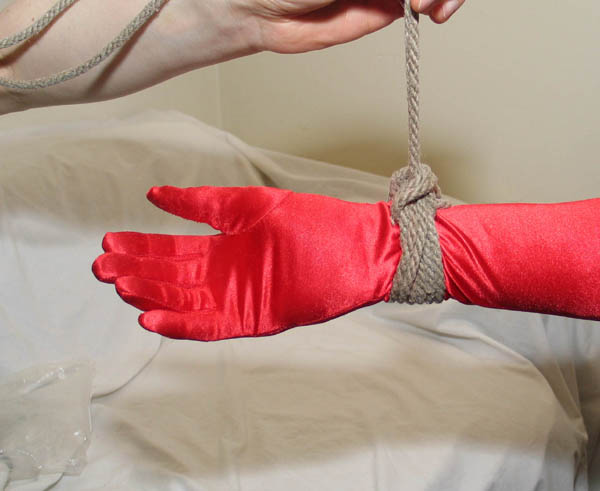
To avoid this, you need to pass the rope underneath all the wrapping turns so that you form a cuff with equal pressure on all the wraps. Below is one simple way to do that. You just make a loop under all the wrapping ropes, run the ends through the loop and tighten down. There are lots of variations. I like this one because it's simple and looks neat.

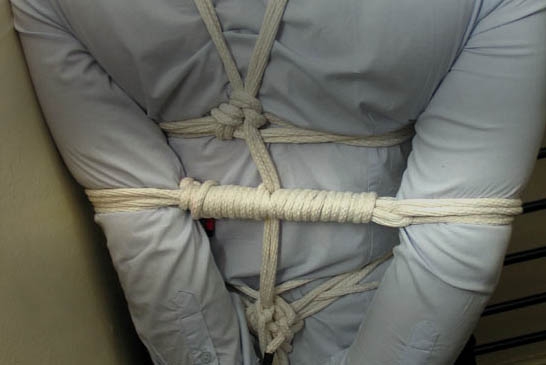
The spreader bar tie - is useful for tying the elbows together or for leaving some space between the ankles to allow the sub to walk. Most subs can't touch their elbows, but with the spreader bar tie you can still tie them together. It's just like a regular double limb tie, just spread out wide, and then the cinching is wrapped again and again to make the bar. You can make it as wide or as narrow as you need. The spreader bar tie was highlighted in Photoshop in the picture below.
These are only a few simple ties, but once you know the basics you can apply them to many different situations.